Proper winterization is the single most important thing you can do to protect your Sea-Doo. Skip it and you're looking at cracked blocks, corroded internals, and expensive repairs in the spring.
Step 1: Flush the Engine
Connect a garden hose to the flush port and run the engine at idle for 2-3 minutes. This clears out salt, sand, and debris from the cooling system.
Step 2: Fog the Engine
With the engine running, spray fogging oil into the air intake until the engine stalls. This coats the internal components with a protective layer that prevents corrosion during storage.
Step 3: Drain All Water
Remove the drain plugs and tilt the watercraft to drain every last bit of water from the exhaust system, intercooler, and hull. Water left inside will freeze and crack components.
Step 4: Stabilize the Fuel
Add fuel stabilizer to a full tank of gas. Run the engine for a few minutes to circulate the stabilized fuel through the entire system. This prevents fuel degradation and varnish buildup.
Step 5: Battery Storage
Disconnect the battery and put it on a trickle charger. A dead battery left sitting all winter will sulfate and die permanently.
Step 6: Lubricate & Cover
Spray all metal components with corrosion inhibitor. Grease the jet pump shaft. Cover the watercraft with a breathable cover — not a tarp, which traps moisture.
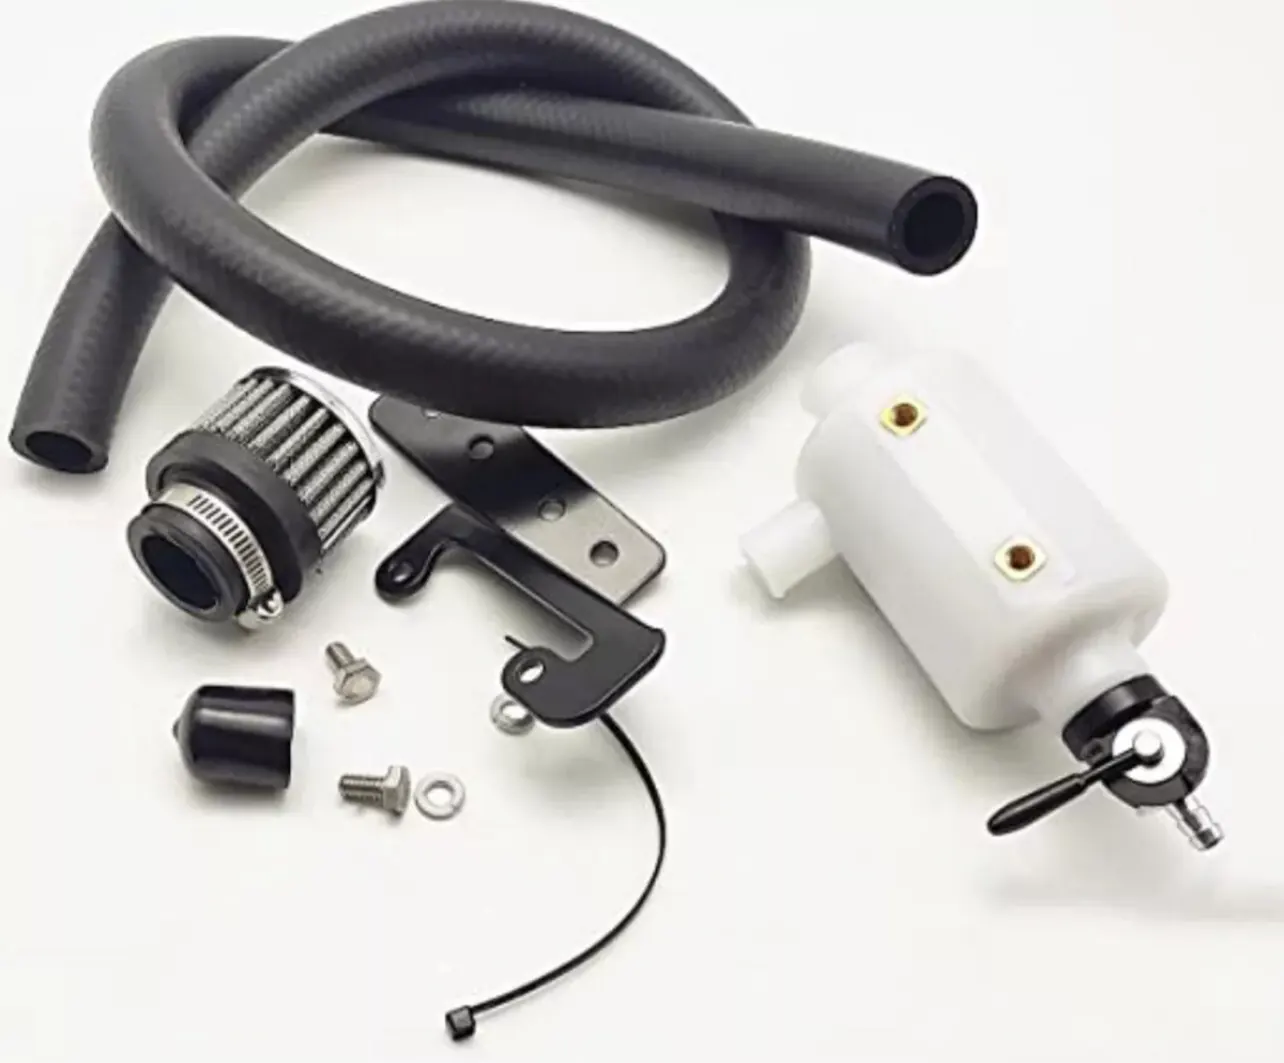
Pro Tip: Catch Can Kit
If you don't already have a catch can kit installed, winterization is the perfect time to add one. It prevents oil vapor from contaminating your intake system, which is especially important during long storage periods.